

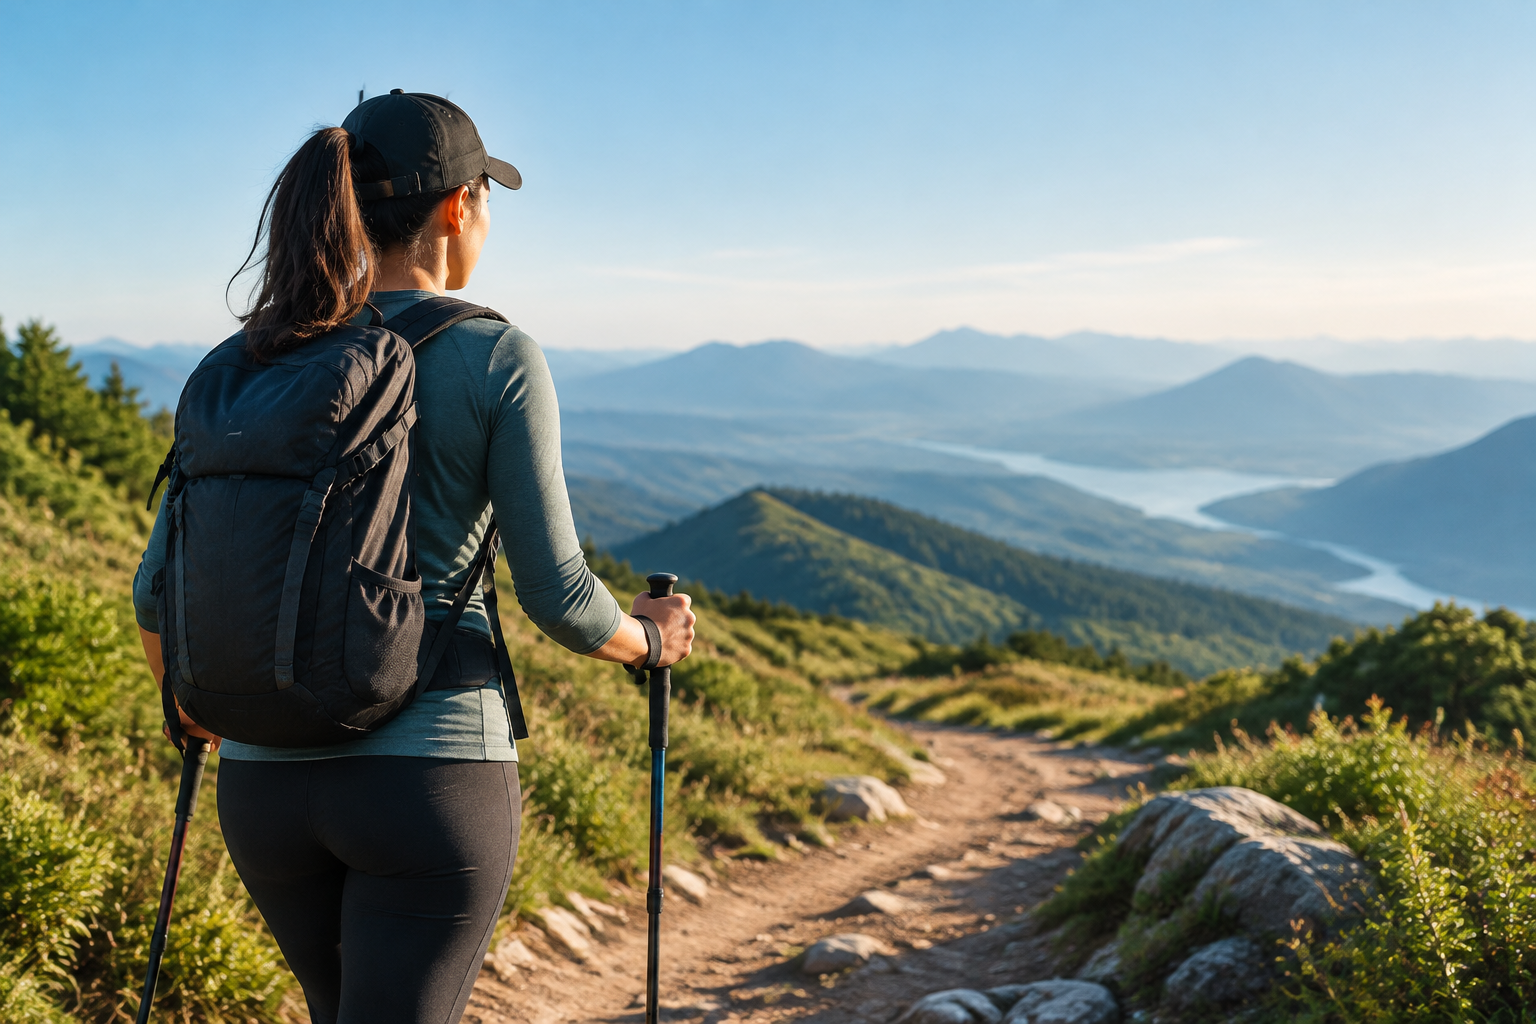
For your first organized walk, choose a distance you can already cover comfortably and add little difficulty: 5 to 10 km, up to around 200–300 m of elevation gain, and minimally technical terrain are generally accessible guidelines for people who already walk. These are not universal limits: fitness, health, surface, altitude, weather, and the time limit can make a route more demanding.
How to Choose an Organized Walk: 7 Steps
Knowing how to choose an organized walk requires looking at the route as a whole, not just the kilometers. Follow these steps before you begin registering.
1. Start From Your Actual Experience
Assess what you currently do without counting on the fitness you hope to achieve by the event. If you walk two or three times a week, record the distance, time, climbs, and perceived effort. If you have been inactive, start with short, simple routes before committing to an organized walk.
Heart, respiratory, joint, or other health conditions warrant advice from a qualified professional. This guide provides general criteria and does not replace a medical evaluation or an individualized plan.
2. Choose a Distance With Room to Spare
The right distance is one you can complete while holding a conversation, maintaining control of your movements, and keeping energy in reserve. On your first organized walk, you do not need to test your limit. A conservative margin helps you deal more effectively with lines, stops, heat, mud, or sections that are slower than expected.
| Current experience | Starting guideline | What to confirm |
|---|---|---|
| Little recent activity | Short route, ideally up to 5–7 km | Simple surface, support, and the option to withdraw safely |
| Regular walks on flat terrain | Around 5–10 km | Moderate elevation gain and a comfortable time limit |
| Experience on trails with climbs | 10 km or more, depending on preparation | Elevation profile, technical difficulty, and required self-sufficiency |
These ranges are only starting points. A steep, rocky 6 km walk may be more demanding than a 12 km walk on flat terrain. To explore opportunities by activity and location, browse outdoor events in Portugal and compare the published details.
3. Interpret Elevation Gain
Cumulative elevation gain, often shown as D+, adds up all the climbs. It is not simply the difference in altitude between the start and the highest point. A route can finish where it started and still accumulate several hundred meters of climbing.
- Up to around 100 m D+: usually gently rolling, although the surface can increase the difficulty.
- Between around 100 and 300 m D+: rolling to moderate for many active beginners.
- Above around 300 m D+: may require more preparation, especially when concentrated over just a few kilometers.
- Long or very steep climbs: may be harder than the cumulative figure suggests.
- Technical descents: increase muscular strain and require balance, even though they do not increase D+.
Do not use these ranges as an official rating. Review the elevation profile and ask the organizer where the main climbs are, their approximate grade, and whether alternative routes are available.
4. Confirm the Type of Terrain
Dirt roads, greenways, and wide paths usually allow a steadier pace. Narrow trails, loose rock, roots, sand, mud, water crossings, and natural steps require more attention, balance, and time. Rain can completely change a route that seemed simple when dry.
Your footwear should be comfortable, suitable for the terrain, and tested before the event. If you have questions about grip, cushioning, or fit, read the guide to choosing trail shoes, adapting its recommendations to the noncompetitive context of walking.
5. Compare Your Pace With the Time Limit
Do not estimate the time using only your road pace. Climbs, uneven surfaces, stops, aid stations, and navigation can significantly reduce your speed. Use a similar training walk as a reference and add a reasonable margin.
- Confirm the start time and closing time.
- Check whether there are intermediate cutoff times.
- Find out whether the time limit includes stops at aid stations.
- Ask whether transportation is available for participants who withdraw.
- Confirm whether walkers and runners share the same route or schedules.
6. Evaluate Support, Markings, and Self-Sufficiency
On a first organized walk, clear information and logistical support make a difference. Find out whether the route is marked, whether a GPX file is provided, how many aid stations there are, where they are located, and what food or drinks they offer. Even with aid stations, carry enough water and energy for the interval between them.
Hydration depends on duration, exertion, temperature, and individual needs. The trail hydration guide helps explain practical factors, but it does not replace clinical or nutritional advice when needed.
7. Read the Rules Before Paying
Confirm the price, included services, refund policy, insurance, minimum age, mandatory gear, environmental rules, image rights, and data processing. Also check who organizes the event and what the official contact details are.
Eventsmtb aggregates and seeks to validate information to make discovering and comparing events easier. However, the organizer is responsible for the rules, route, schedules, prices, operational safety, and changes. Always confirm the final details with the organizer before registering and again near the event date.
Distance and Elevation Gain: Comparison Examples
The following examples show why kilometers alone are not enough to determine the difficulty level.
| Scenario | Distance | Elevation gain | Terrain | Likely assessment |
|---|---|---|---|---|
| A | 6 km | 80 m | Wide, firm path | Generally accessible |
| B | 6 km | 350 m | Steep, rocky trail | Demanding for many beginners |
| C | 10 km | 150 m | Greenway and dirt road | Moderate, depending on pace |
| D | 10 km | 450 m | Mud, roots, and technical descents | Demanding and more time-consuming |
Actual conditions can change this assessment. Heat, wind, rain, snow, altitude, and lack of shade affect exertion and safety. Prioritize the official description and current information from the organizer.
How to Understand the Difficulty Level
Terms such as “easy,” “moderate,” and “difficult” do not always follow the same criteria. A useful rating should explain the factors considered. If the event shows only a label, look for additional details.
- Total distance and cumulative elevation gain.
- Grade and duration of the main climbs.
- Surface type and the presence of technical or exposed areas.
- Minimum and maximum altitude.
- Time limit and cutoff times.
- Required self-sufficiency between aid stations.
- Possibility of rain, heat, wind, or low light.
- Required navigation experience and quality of route markings.
For your first experience, choose an event whose difficulty level is explained with measurable data. Comments from previous participants can provide context, but they do not replace the rules or current information from the organizer.
Essential Gear for Your First Organized Walk
The event rules always take precedence, but a basic list may include suitable, already-tested footwear; weather-appropriate clothing; water; food; a charged phone; identification; sun protection; and a waterproof layer. Other items may be required for long, nighttime, or remote events.
Read the guide to mandatory trail gear to understand how to interpret these requirements. However, do not assume that one event’s list applies to another: confirm the latest version of the specific walk’s rules.
Signs You Should Choose an Easier Option
- You have never covered a similar distance.
- The elevation gain is much greater than on your usual walks.
- You have no experience on the advertised type of terrain.
- The time limit requires a pace you have never tested.
- There are long sections without water, support, or an exit option.
- The route takes place at night, at altitude, or in a remote area.
- The rules or essential details are incomplete.
- The forecast increases the risk or exceeds your experience.
Choosing a shorter option does not diminish the value of the experience. On the contrary, it increases your chances of finishing with confidence and wanting to participate in another event.
Checklist Before Registering
- Can I comfortably complete this distance in training?
- Have I already handled similar elevation gain and surfaces?
- Do I know the elevation profile and the most demanding sections?
- Do I have enough leeway before the time limit?
- Do I know where the aid stations are and how self-sufficient I need to be?
- Do I have and have I tested the required gear?
- Do I understand the rules, price, and cancellation policy?
- Do I know whether registration takes place on Eventsmtb or an external site?
- Have I confirmed the information through the organizer’s official channels?
- Do I have a transportation, parking, and return plan?
Find a Walk Suited to Your Level
Start by setting four filters: region, distance, elevation gain, and difficulty. Then compare terrain, time limit, support, and required gear. Save two or three options and choose the one that offers the best balance of challenge, safety, and logistics—not necessarily the longest.
Before completing your registration, confirm when the listing was last updated, whether spots are available, and which channel processes payment. If any essential detail has yet to be confirmed, contact the organizer directly. The best first walk is one that lets you enjoy the route and finish with something in reserve.
Frequently asked questions
What distance should I choose for my first organized walk?
If you already walk regularly, 5 to 10 km on simple terrain is usually a prudent guideline. If you are sedentary or have limitations, start with a shorter option. Your choice should also account for elevation gain, the surface, weather, and the time limit.
How much elevation gain is suitable for a beginner?
As a general guideline, up to around 200 to 300 meters of cumulative elevation gain tends to be more accessible on a short walk, but there is no universal limit. The grade, altitude, surface, and your preparation can significantly change the difficulty.
What is the difference between distance and elevation gain on a walk?
Distance indicates how many kilometers you will cover. Cumulative elevation gain adds up every meter of ascent along the route. Two walks with the same distance can have very different difficulty levels.
How do I know whether a walk is suitable for beginners?
Look for a difficulty rating explained by the organizer, a marked route, minimally technical terrain, a generous time limit, aid stations or support points, and clear information about distance, elevation gain, and required gear.
Do I have to carry mandatory gear?
It depends on the event. Check the rules and the organizer’s communications to confirm footwear, water, food, sun or rain protection, a phone, lighting, and any other required items.
Who confirms changes to the route or schedule?
The organizer is the official source for the route, schedule, price, rules, cancellations, and changes. Eventsmtb aggregates and validates published information, but you should confirm the final details through official channels before participating.